Showing posts with label Nursery. Show all posts

Tuesday, April 10, 2012

Coat Rack Bookends

IMGP0002

I’m sure you’ve seen the IKEA spice rack book holders on pinterest that are so popular that it’s becoming impossible to find them in stock at an IKEA store:

image

Original Source

Originally, I was hoping to do something similar, but we couldn’t find them in stock at our local IKEA.  While I love the bookends I made a while back for the nursery, they aren’t durable enough to withstand the wear a soon to be walking kid will impart.  Instead, I came up with the idea of putting pegs in the shelf at intervals to hold up the books, but keep the spines visible.  Since I didn’t want to drill directly into the shelves (the particleboard and melamine combo can be a pain to drill cleanly), we decided to go with the coat rack look.

The wood was scrap from home depot (less than $1), and the pegs were $0.69 for 2.  If you’re super resourceful, you could probably pick one up at a garage sale for less.

IMGP0004

Sunday, February 5, 2012

Rocket Ship

A friend of mine is doing her son’s room in a rocket ship theme.  I haven’t broken out the paints since my art school days (mainly because I’m still reliving the obnoxious condescension from my art critiques), but I had some canvases hanging around and thought ‘what the heck’?  I think they turned out okay, no?

IMGP0003IMGP0001

Tuesday, January 17, 2012

Baby Shadow Boxes


IMGP0021

I wanted to give the parents some sort of footprint/handprint memento for Christmas, but I found that a lot of those kits you can buy at Michael’s are only for kids aged 6 months and up.   Someone recommended using Crayola’s Model Magic, which is what we ended up using. 

To be honest, I’m not entirely sure I recommend it as a mould making product.  TC and I had to wrestle the kid (who at the time was squirming like a wet cat) and still couldn’t manage to get a nice handprint.  The footprint required a lot of force, and the process ended up warping the edges (I really wanted clean edges).  

In the end though, I think the shadow boxes turned out okay.

(photos were printed at London Drugs directly on to foam core for easy mounting)

Saturday, September 10, 2011

Our Nursery Tour

The orange was a bit of a battle. I wanted something less girly than pink. I’ve never been a pink person, and quite frankly, it’s a ridiculous colour to decorate with (it’s a very, very thin line between a nice pink and pepto bismol). TC wasn’t sold on the idea of orange and everyone else we spoke to seemed to scratch their heads.

The other battle was with the paint. I’m normally a loyal Benjamin Moore user, but since trying their Natura line, have been less than impressed with them. Everyone and their uncle was raving about Behr Ultra, and despite still not having lived down the Ralph Lauren paint experience (the paint that started chipping even before it was dry), decided to give Home Depot another chance. I think it was probably naive of me to assume that a paint that touts itself as ‘paint and primer in one’ would say, not require priming. Apparently I was wrong according to the overly perky teenager at the paint counter, and was required to pick up an additional bucket of the ugliest tinted peach primer you ever did see:

260278_10150679161030144_640550143_19094865_5102584_n

But it wasn’t the orange that killed us. I can justify 1 coat of primer and 2 coats of orange paint. Everyone says red’s the worst colour to paint and orange isn’t that far off, right? But it was the bloody white. You’d think that a primer-and-paint-in-one wouldn’t need 4 coats to get any sort of coverage, but you’d be wrong, and probably standing very close to a very irate and sore 7 months pregnant version of me.

To top all that insanity off, right after the painting experience, TC’s back decided it had had enough, and TC spent the next 3 weeks on the couch pretty much useless (well, unless you needed something googled). So yeah, thanks Behr.

It was worth it in the end though. I really do love how everything turned out and that everything did indeed come together. I had a bit of a panic attack when the seller for the wall decals I’d picked out on etsy went on prolonged leave, but she made special exception for me and did a fantastic job.

This is the final product:

IMGP0018

The frames were originally black ikea cheapies that were painted with white oil paint. To save yourself the heartache of chipping, like I didn’t, sand thoroughly and prime first. The art is just fabric TC picked at the fabric store that we mounted using the existing mattes.

IMGP0007

IMGP0020

IMGP0006

IMGP0011

IMGP0005

Sunday, August 21, 2011

Mod Bird Bookends

I’m sure by now you’ve discovered my love for mod styled things when it comes to my kid’s room.  Well, not just my kid’s room, but TC isn’t really into that look, so it’s a bit of a battle trying to convince him to buy anything in that style.  I can’t tell you the amount of times we’ve stood in the middle of Home Sense arguing over the need for a $19.99 vase.  You’d think we were talking about the holy grail, or at least something with a higher price point. 

Anyway, I fell in love with these bookends on etsy one day:
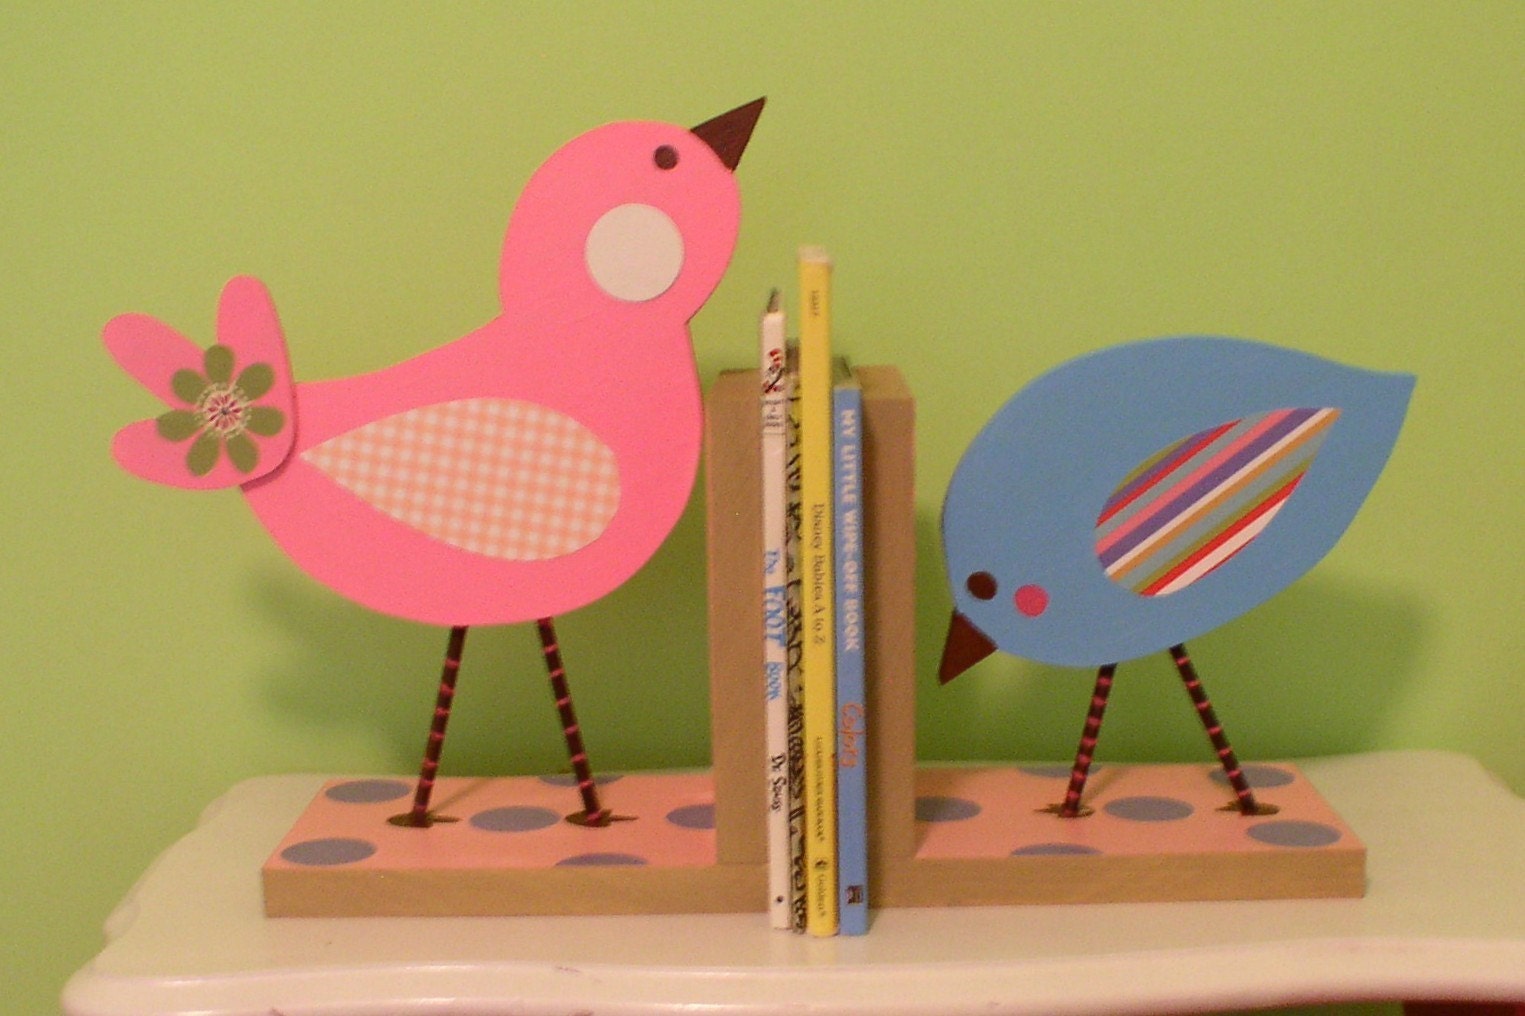
The Wooden Owl on Etsy.

But alas, TC would not bite at the price tag.

Luckily, I have a very handy father-in-law with a well equipped workroom (our postage stamp garage barely fits the cars, let alone the chop saw that’s never been put away), who was more than willing to help us take on this project.   So, last time we ventured home, TC, Father-In-Law, Mother-In-Law (who’s major function in this operation was documenting the fact that it took 3 of us to use the belt sander), and I took on this project.  Mother-In-Law had surprisingly saved the wood from the signs we used for our wedding:

Signs

Basically, because I do realise this is a craft blog and I’ve yet to take step-by-step photos, I drew the shapes of the birds out on the wood, and cut them out using the scroll saw.   The bases are roughly 8 inches by 4 inches, and the birds sit on top.  Father-in-Law was the brains behind the logistics, because quite frankly, when it comes to drill presses, it’s safer for everyone’s limbs if I just say ‘this needs to look like that’, and then step back.   So, dowels were cut, holes were drilled, and eventually we ended up with something that looks like this:

247965_10150618960845338_884370337_18642029_6616519_n

You can see where I drew the angles of the legs on the birds.  This will guide the drill press that I know all of you have. 

So, a few months of procrastinating later, these were re-assembled on the opposite coast, painted and modge-podged (everything nursery related seems to end in modge podge).

And voila, the final product:

IMGP0009

IMGP0013

Saturday, August 20, 2011

Alphabet Blocks

IMGP0029

I wanted to do alphabet blocks for the nursery because I remember having them as a kid, and I keep seeing them pictured in those fancy houzz.com nurseries I’ve been drooling over as inspiration.

Basically, all you have to do is take some 2x2x4’s that they sell for stair balusters and cut them into blocks. Sand and paint 2 sides of each.

Download the pdf HERE. Print, cut out and modgepodge the letter squares to the blocks, using scrapbook paper to cover the remaining sides. For the letters, I just typed them out using random fonts in MSWord and then cut them out. Cover blocks with another 3 coats of modgepodge, and you’re done!

IMGP0031

Download Printable PDF Here.

In the coming months, if there’s interest, I may upload a set in a more neutral palette, since I know my orange and slate grey nursery isn’t exactly what everyone’s going for these days. It looks great though, I promise:

IMGP0001